
A covered deck transforms your outdoor space into a year-round living area, shade on hot afternoons, shelter from light rain, and a defined spot to entertain without worrying about weather. Unlike a simple deck, a covered version requires planning for structural support and roof load, but it’s absolutely achievable for a motivated DIYer with basic carpentry skills and a helper or two. This guide walks you through site layout, material selection, foundation work, and roof installation so you can build a sturdy, attractive covered deck that adds real value to your home.
Table of Contents
ToggleKey Takeaways
- Building a covered deck requires careful planning of layout, materials, and roof pitch—a 4:12 pitch is ideal for most homes—along with strict adherence to local building codes and permit requirements.
- The ledger board installation with proper flashing is the most critical safety step; bolting it directly into the band board with ½-inch bolts every 16 inches prevents water damage and catastrophic failure.
- Foundation work must account for frost line depth (typically 3–4 feet), post spacing every 4–6 feet, and concrete footings to prevent frost heave and structural shifting during winter.
- Choose roofing material based on durability and weight: metal panels are lightweight and durable, while asphalt shingles offer a finished look but require solid framing to support the added load.
- Avoid common mistakes like skipping flashing, undersizing posts and beams, and using non-galvanized fasteners—investing in proper materials and inspections protects your investment and ensures safety for 20+ years.
Plan Your Covered Deck Design and Layout
Before ordering a single board, decide what you actually want. Are you covering an existing deck or building from scratch? How big is the space, 10 feet wide by 12 feet deep is a reasonable starter size, but yours might be different. Check your local building codes and zoning laws: most jurisdictions require a permit for decks over 30 inches high, and covered structures often trigger additional rules around roof load, snow load capacity, and setback distances from property lines.
Sketch your deck layout on paper or use a simple online tool. Mark where the ledger board (the beam that attaches to your house) will sit, it must bolt directly into the band board of your rim joist, never into siding. Plan post locations every 4 to 6 feet: closer spacing handles heavier roof loads better. Determine roof pitch, a 4:12 pitch (4 inches of rise per 12 inches of run) sheds water well and looks right, though you can go steeper or nearly flat depending on your home’s style. Finally, decide on roofing material: metal panels (affordable and durable), polycarbonate (lets light through), corrugated fiberglass, or asphalt shingles (heaviest option, requires more framing).
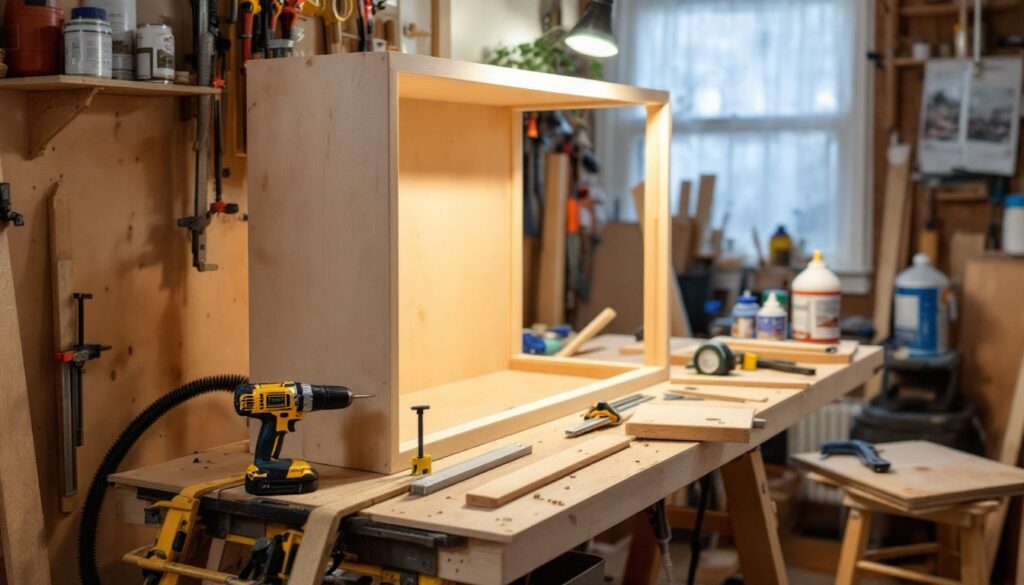
Gather Materials and Tools You’ll Need
For a 12′ × 10′ covered deck, expect to buy pressure-treated lumber (the standard for outdoor framing, nominal 2×10s, 2×8s, 4×4 posts), galvanized or stainless steel fasteners (never regular nails or screws, which rust), concrete mix and post footings that sit below the frost line (typically 3–4 feet deep, but check your zone), and roofing material of your choice.
Essential tools: corded drill-driver, circular saw (or miter saw for cleaner angled cuts), 24″ level, tape measure, post-hole digger or auger (rental ~$40–60/day), and a reciprocating saw for ledger installation. Rent scaffolding or a sturdy step ladder if you’re tall enough to work safely overhead.
Safety gear is non-negotiable: safety glasses, work gloves, a dust mask or respirator when cutting pressure-treated lumber (it contains copper compounds), and ear protection near power tools. A second pair of hands, whether a friend or professional helper, makes ledger flashing, roof framing, and rafter placement far safer and faster. Budget 20–30% cushion into material estimates: waste happens, and codes often require extra fasteners or blocking.
Build the Foundation and Deck Frame
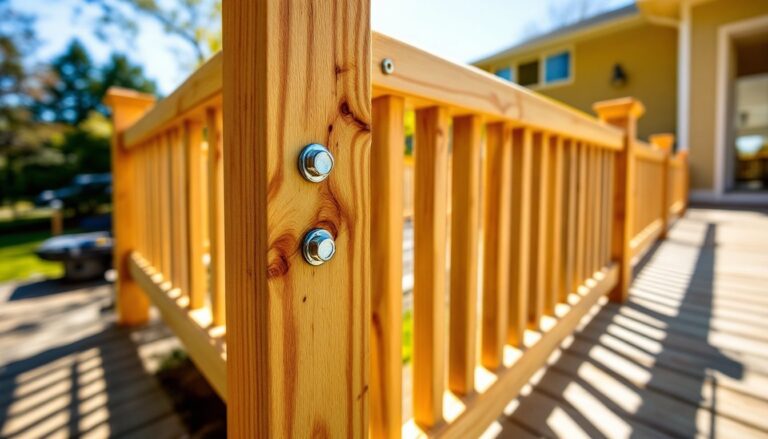
Start with the ledger board. Remove siding back at least 1–2 feet where the ledger attaches: you’re exposing the band board of your house rim. Install flashing, a bent metal barrier that routes water down and out, not behind the ledger. Bolt the ledger to the band board using ½-inch bolts every 16 inches: drill holes, install flashing, then bolt through. This is the most critical step: a failed ledger is dangerous.
Next, dig post holes at marked locations, 12–18 inches diameter and 3–4 feet deep (check frost line for your area, if you build too shallow, frost heave lifts posts). Pour concrete footings, insert adjustable post bases (metal connectors that let you fine-tune height), and set your 4×4 posts on them. Posts should sit plumb, check vertical with your 24″ level from two angles.
Once posts are solid, install the outer beams (doubled-up 2×10s or 2×12s depending on span and snow load). Use galvanized joist hangers to connect rim joists and interior joists to beams: these metal brackets distribute load better than nailing. Space joists 16 inches on center (OC). Deck boards run perpendicular to joists, typically 2×6 or 2×8 pressure-treated decking, leaving a 1/8-inch gap for expansion. If you’re building a second story structure or live in a heavy-snow zone, consult local building codes or a structural engineer: roof loads are real.
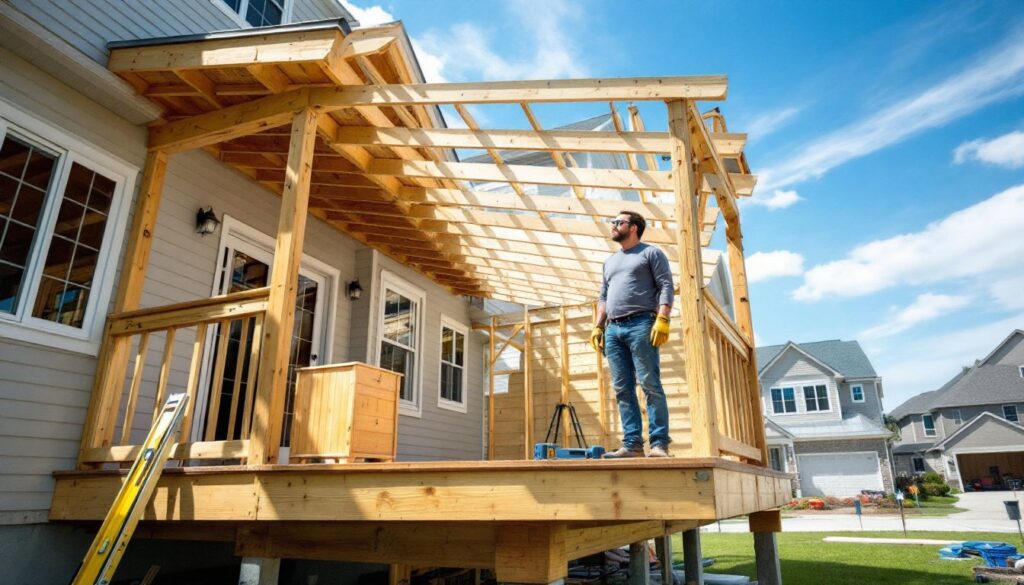
Install the Roof Structure
The roof is where the covered deck gets its strength and weather protection. Build the roof frame on the ground first if it’s manageable in size: assembling rafters at height is risky and slower.
Mark rafter tail length based on your pitch. For a 4:12 roof on a 10-foot-deep deck, you’ll need a 12-foot rafter run: cut the bird’s mouth (notch where the rafter sits on the top plate) to keep the rafter level. Use a rafter calculator (free online) if you’re unsure of angles.
Space rafters 24 inches OC, the same principle as deck joists. Install blocking and collar ties to prevent racking (sideways movement). A porch roof guide can help visualize how southern builders handle similar structures. Attach the roof frame to the deck frame with hurricane ties or through-bolts, distributing load evenly. Install drip edge on eaves and rake edges, this 1–2-inch metal flashing channels water off, preventing rot on fascia and siding.
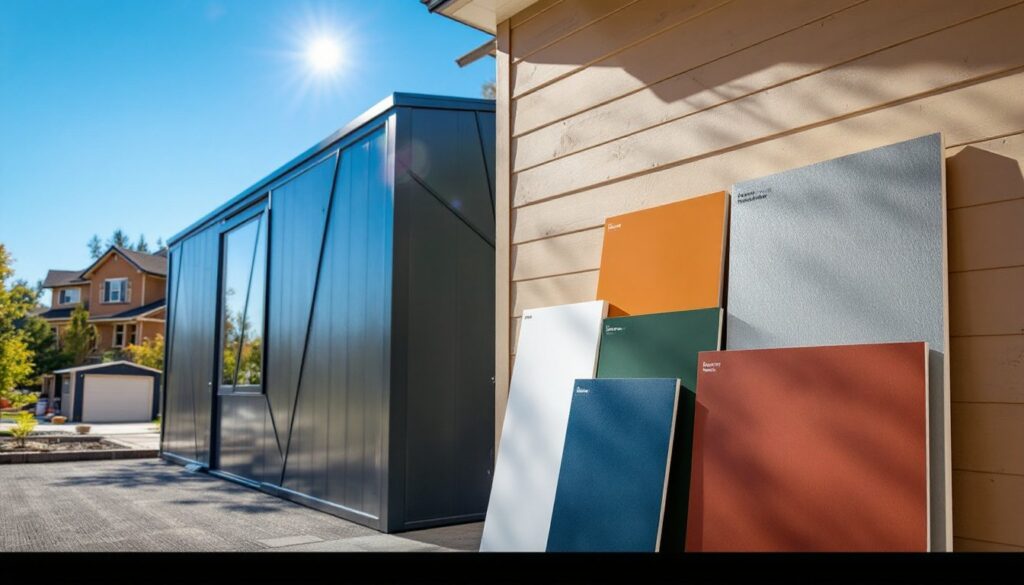
Choose your roofing material carefully. Metal panels are lightweight and durable: polycarbonate is cheaper but may yellow over time: asphalt shingles are heavy and require a solid substrate. Shingle over plywood (½-inch minimum), then install underlayment and shingles per manufacturer specs. Metal and polycarbonate can go over spaced purlins (smaller framing members) in some cases, saving weight.
Add Finishing Touches and Weather Protection
Paint or stain exposed wood surfaces, pressure-treated lumber is ready for stain once it dries (6–12 weeks post-installation). A water-repellent stain protects against UV and moisture: reapply every 2–3 years. Fascia and trim boards can be painted or stained to match your home’s exterior.
Install gutters and downspouts to direct water away from the deck and house foundation. A covered deck often sheds a surprising volume of water: 10 feet of gutter running full can drain 100+ gallons per downpour. Install soffits (underside panels) if you want a finished look: they also protect the underside from weathering. Railing is usually required if the deck is over 30 inches high, check code. Building a safe, attractive railing with balusters spaced no more than 4 inches apart prevents child and pet entrapment.
Add outdoor lighting if desired, low-voltage LED strips under eaves or recessed lights in soffits are popular. Ensure all electrical work is done by a licensed electrician and meets the National Electrical Code (NEC): outdoor circuits need GFCI protection.
Common Mistakes to Avoid During Construction
Skipping the ledger flashing is the #1 mistake. Water gets behind the ledger, rots the band board, and eventually the ledger fails catastrophically. Don’t cheap out here, proper flashing is insurance.
Undersizing posts or beams leads to sagging and cracked fasteners. If you’re unsure of sizing, ask a structural engineer ($200–400 consultation) rather than guessing. Woodworking project planning resources can help you think through load paths.
Forgetting about frost heave means your posts shift upward in winter, cracking connections. Dig below the frost line: the extra digging saves headaches.
Not accounting for roof load in snow country causes collapse. A metal roof is light: asphalt shingles are heavy. Know your snow load and size framing accordingly, check home repair guides or consult your building department.
Cutting corners on fasteners invites rust and failure. Galvanized bolts, joist hangers, and hurricane ties aren’t much more expensive than plain alternatives and last 20+ years instead of 5.
Conclusion
Building a covered deck is a manageable DIY project if you respect the structural requirements and don’t rush the foundation and ledger work. Permits aren’t punishment, they exist because bad decks injure people. Get one, have the work inspected, and sleep knowing your deck is safe. The payoff is a sheltered outdoor space that extends your living area and boosts home value. Start small, take your time, and don’t hesitate to hire help for tricky bits like ledger flashing or roof framing.