Setting up a home theater doesn’t have to mean hiring an expensive installer or feeling overwhelmed by a jungle of cables and menu screens. A Vizio home theater system offers solid performance at reasonable prices, making it an attractive choice for DIYers tackling this project for the first time. Whether you’re mounting a TV above the fireplace, routing audio cables through walls, or fine-tuning picture settings, this guide walks you through the essential steps to get your Vizio system up and running. The good news: most of this work is straightforward if you plan ahead and avoid rushing the setup process.
Table of Contents
ToggleKey Takeaways
- A Vizio home theater offers solid picture and sound quality at reasonable prices, making it an excellent choice for DIY installers avoiding expensive professional setup.
- Proper planning and the right tools—including a stud finder, level, fish tape, and surge-protected power strips—are essential before mounting your TV and running cables.
- Choose your Vizio TV size based on viewing distance (sit 1.5 to 2.5 times the screen diagonal away) and opt for M-Series models for the best balance between cost and performance in a first-time home theater setup.
- Mount your TV bracket to at least two wall studs (never drywall alone), separate power cables from audio and HDMI cables to avoid crosstalk, and use CL2 or CL3 rated in-wall cables for safety.
- Calibrate video settings by adjusting backlight, brightness, and contrast, then configure audio output through HDMI ARC and verify surround speakers are firing before declaring your Vizio system complete.
Why Choose Vizio for Your Home Theater Project
Vizio has built a reputation for delivering strong picture and sound quality without the premium pricing of other manufacturers. Their TV lineup ranges from budget-friendly 1080p models to high-end OLED displays with full-array local dimming, so there’s something for nearly every budget. On the audio side, Vizio soundbars and complete surround systems integrate easily with their TVs and work with standard receivers, giving you flexibility in how you expand later.
One practical advantage: Vizio gear plays well with other brands. If you already own a non-Vizio receiver or speakers, you’re not locked into buying exclusively Vizio components. Their TVs support HDMI ARC (audio return channel), which simplifies the cable run between your TV and soundbar or receiver. Setup menus are straightforward, though still worth reviewing the manual rather than guessing. Cost-wise, you’ll spend less upfront compared to premium brands, which leaves more budget for acoustic panels, cable management, or upgrading down the road.
Essential Equipment You’ll Need to Get Started
Before you start unpacking boxes, gather the right gear. You’ll need a TV mounting bracket (if wall-mounting), a soundbar or surround system, an AV receiver (if building beyond a simple soundbar setup), HDMI cables, and power strips with surge protection. Don’t skip a good power strip, voltage spikes can fry expensive electronics.
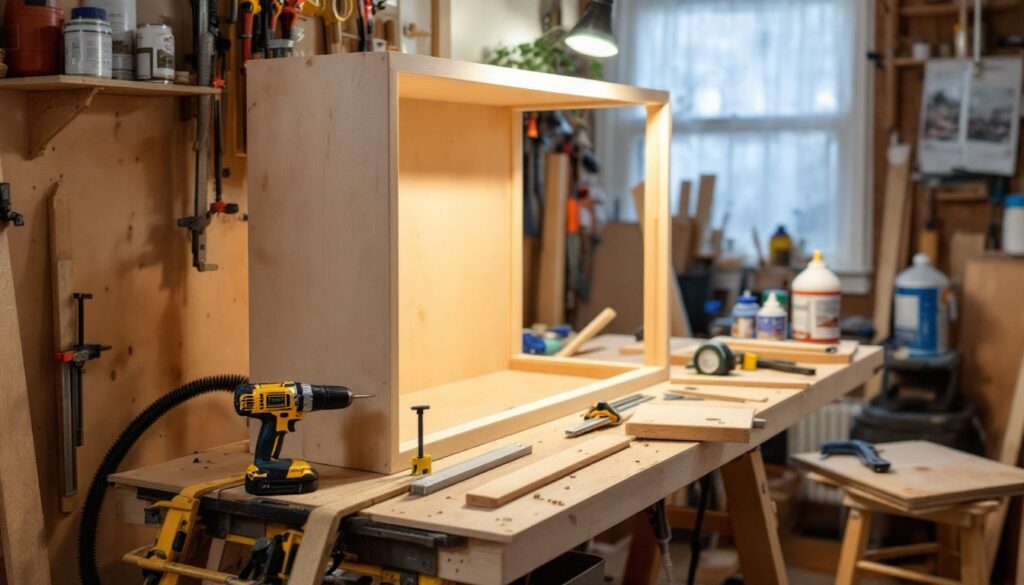
For tools, a stud finder is essential for locating wall framing before drilling. A level (24 inches is ideal) ensures your TV hangs straight. Have painter’s tape, a tape measure, and a pencil for marking positions before drilling. For cable runs, a fish tape or glow-stick helps pull wires through walls without damage. If running cables in-wall, you’ll also need low-voltage wire clips and possibly conduit depending on your local electrical code, check with your municipal building department first.
Personal protective equipment matters: wear safety glasses when drilling overhead, work gloves when handling rough lumber or brackets, and a dust mask if drilling into drywall or plaster. Your hearing is valuable, use ear protection when mounting hardware involves power tools.
Choosing the Right Vizio TV Size and Model
TV size depends on viewing distance. The common rule is to sit at a distance roughly 1.5 to 2.5 times the diagonal screen size. A 65-inch TV works well from 8 to 13 feet away: a 55-inch from 6.5 to 11 feet. Measure your room and seating area before shopping.
Vizio’s lineup includes V-Series (entry-level, good for secondary rooms), M-Series (mid-range, better motion handling and local dimming), and OLED (premium picture, best for dark rooms). For a first-time home theater, the M-Series strikes a balance between cost and performance. Check whether your model includes SmartCast (Vizio’s streaming interface) and note the refresh rate, 60Hz is fine for movies and TV shows: 120Hz benefits gaming and sports. Confirm your chosen TV has HDMI 2.1 ports if you plan to use it for newer gaming consoles or high-bandwidth sources.
Step-by-Step Installation Guide
Installation breaks into two main phases: mounting hardware and running cables. Start with power-down mode across all equipment.
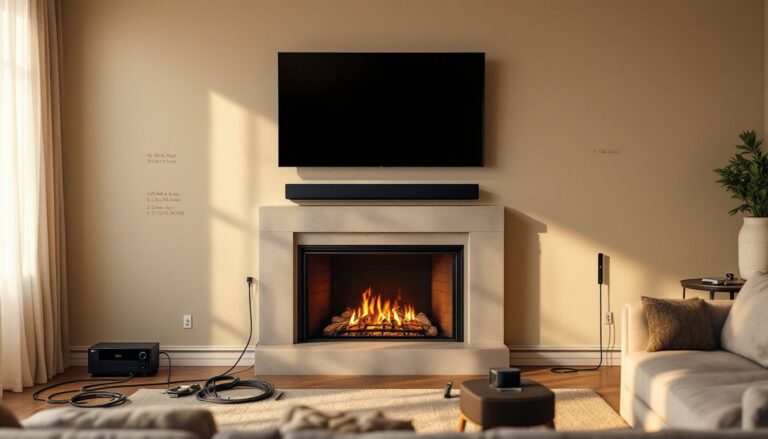
Mounting Your TV and Positioning Speakers
First, locate the studs in your wall using a stud finder. Most walls have studs spaced 16 inches on center. Mark them lightly with pencil. Your TV bracket should attach to at least two studs for safety, never mount solely to drywall anchors on a heavy TV. A typical 65-inch TV weighs 60–80 pounds: confirm your bracket’s weight rating exceeds your TV’s actual weight.
Use painter’s tape to outline bracket position, then check level before drilling. Drill pilot holes first, this prevents the drywall from splitting and helps screws sit flush. Mount the bracket, then hang the TV carefully with a helper. Verify level again after mounting.
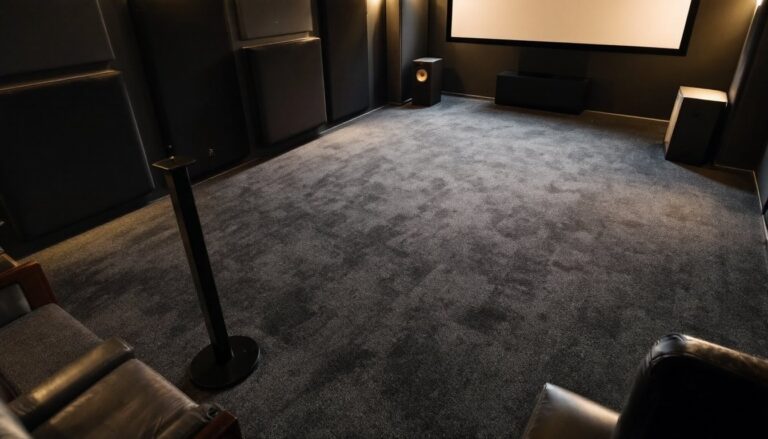
For a soundbar, position it either below the TV or wall-mounted at ear level when seated. If mounting, again locate studs and use appropriate heavy-duty anchors. For surround speakers, place side and rear speakers slightly above ear level (6–12 inches) and 90–110 degrees to the sides and rear of seating. A subwoofer can sit in a corner or along the front wall, corner placement often provides stronger bass, but test placement once it’s connected.
Cable routing is where DIYers often stumble. Avoid running power cables and audio cables in the same conduit if possible, crosstalk and noise result. Run HDMI, optical audio, and speaker wires through separate paths. If running cables in-wall, use in-wall rated cables (marked CL2 or CL3) to meet fire codes. In most jurisdictions, low-voltage cables don’t require conduit, but always verify local code.
Optimizing Audio and Video Settings
Once everything is plugged in and powered on, don’t settle for defaults. Video calibration takes 15 minutes and transforms picture quality. In the TV menu, navigate to Picture settings. Lower Backlight to a comfortable level (not blasted to 100): adjust Brightness so you can see shadow detail, and Contrast so highlights don’t clip. Set Color (saturation) to neutral: manufacturers typically oversaturate out of the box. Disable unnecessary motion smoothing (often called TruMotion or similar) unless you watch sports and genuinely prefer it.
For audio, if using a Vizio soundbar, verify it’s set as the primary audio output in your TV menu. Most modern Vizio TVs default to HDMI ARC, which allows the soundbar to receive audio directly from the TV. Test a streaming service to confirm sound is flowing. If using a full surround setup, run your receiver’s calibration microphone (if included) or manually set volume levels so all speakers sound equally loud from your listening seat, aim for 75 dB measured at ear level using a sound level app.
Run a test movie clip with surround effects, explosions, helicopters, rain, to verify rear speakers are firing. If not, double-check HDMI connections and receiver input settings. Many Vizio systems support Dolby Atmos: if your content supports it, enable it in both the TV and receiver menus. But, not all streaming services offer Atmos consistently, so manage expectations.
A review of the Vizio M51a-H6 soundbar system shows how affordable Vizio M-Series units deliver solid surround performance with Dolby Atmos and DTS:X support. Fire up a streaming app and spend a few minutes tweaking bass and treble balance, every room is different, so trust your ears. The Digital Trends home tech guide offers deeper dives into connected-device setup if your system includes smart features. Finally, consult Good Housekeeping’s product testing standards for additional insight into reliable home electronics setup practices.
Conclusion
Building a Vizio home theater system rewards patience and planning. Start with accurate measurements, invest in proper mounting hardware, run cables cleanly, and spend time calibrating audio and video. Most failures stem from rushing, take a weekend rather than an afternoon. If you hit a snag, Vizio’s support is accessible, and YouTube demos of your specific model are plentiful. You’ll end up with a system you installed yourself, tuned to your room, and ready for years of movie nights and game sessions.