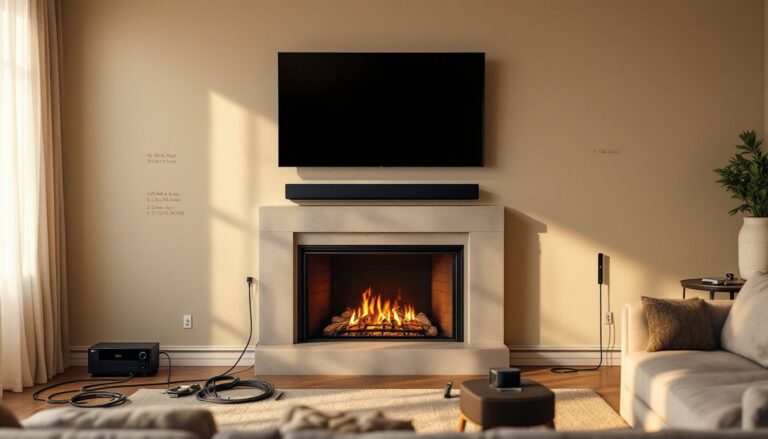

Setting up a proper home theater used to mean running cables through walls, hiring professionals, and spending months on installation. A wireless 5.1 home theater system eliminates those headaches. Today’s wireless surround systems deliver theater-quality sound without the mess of speaker wires snaking across your living room. Whether you’re a movie buff, a gamer, or someone who just wants immersive audio while watching the big game, a wireless 5.1 setup combines convenience with real performance. This guide walks you through what these systems are, how to choose one, and how to install it yourself without calling an electrician.
Table of Contents
ToggleKey Takeaways
- A wireless 5.1 home theater system eliminates installation headaches by using Wi-Fi or Bluetooth instead of cables, allowing you to place speakers wherever they sound best and rearrange them without constraints.
- The five channels in a 5.1 setup include a center channel (carries 60–70% of dialogue), left and right front speakers, two rear surround speakers, and a subwoofer—choose Wi-Fi for better range or Bluetooth for simpler setup.
- Plan speaker placement before buying: position surround speakers 1–2 feet above ear level angled downward, keep the subwoofer in a front corner to avoid bass dead zones, and maintain a strong 5 GHz Wi-Fi signal to prevent connectivity drops.
- Modern wireless systems use low-latency codecs to keep audio synced with video, feature auto-calibration tools for easy setup, and offer app-based controls that make troubleshooting and level adjustments straightforward.
- Prioritize features like Dolby Atmos support, subwoofer customization options, and HDMI ARC compatibility when shopping for a wireless 5.1 system to ensure long-term flexibility and immersive performance.
- DIY installation is achievable in 6 steps—plan layout, choose your network type, install grounded power outlets, pair devices in the correct sequence, calibrate audio levels, and test with surround-heavy content to verify all channels work properly.
What Is a Wireless 5.1 Home Theater System?
A wireless 5.1 home theater system consists of five independent audio channels: a center channel, two front left and right speakers, two rear surround speakers, and a subwoofer. The “5.1” is the audio industry standard for surround sound designation, where the first number refers to main speakers and the second number designates the subwoofer.
Instead of running speaker cables across your floor or hidden in walls, wireless systems use Wi-Fi, Bluetooth, or proprietary digital transmitters to send audio signals. The receiver or soundbar acts as the hub, decoding the sound from your TV or media player and wirelessly broadcasting it to each speaker.
Most modern wireless 5.1 systems use either Wi-Fi (which offers longer range and more stability) or Bluetooth (simpler setup, smaller devices). Some high-end models combine both for flexibility. The subwoofer typically connects to a power outlet only, no cables needed for audio signal transmission.
Key difference from older systems: Today’s wireless tech avoids the latency and drop-out issues that plagued earlier models. Low-latency codecs ensure your audio stays synced with the video on your screen, which is critical for movies and gaming.
Key Benefits of Going Wireless for Your Home Theater Setup
Cleaner Install. No drilling through studs, running cables behind drywall, or managing visible speaker wire. You place each speaker where it sounds best, plug in power, and pair it wirelessly. This flexibility is especially valuable in rental properties where you can’t modify walls.
Easy Rearrangement. If you rearrange furniture or want to move the surround speakers to a different wall, you’re not constrained by cable runs. Pair the speaker again and adjust the software positioning.
Simplified Troubleshooting. Fewer physical connections mean fewer loose cables, corroded connectors, or pinched wires that degrade sound. Most issues are software-based and fixable through app updates or a factory reset.
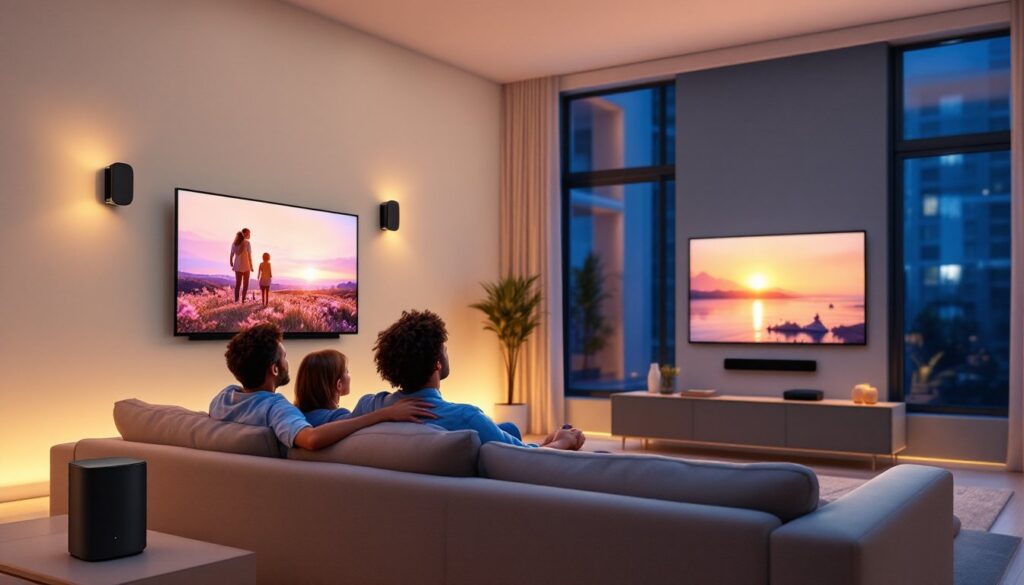
Reduced Clutter. Fewer cords mean a tidier entertainment space. Wireless speakers can be wall-mounted or placed on stands without the aesthetic mess of cable management.
Future-Proof Flexibility. Many wireless systems let you add additional speakers, swap surround models, or upgrade a single component without rewiring everything. You’re not locked into a hardwired channel configuration.
That said, wireless systems require a stable network or strong Bluetooth range. If your router is in a different room or you have thick masonry walls, you may experience connectivity drops. Plan your setup around your home’s Wi-Fi coverage.
Essential Components You’ll Need
Receiver or Soundbar Hub. This is the central unit that connects to your TV and decodes surround sound signals. It must support 5.1 channel decoding (Dolby Digital or DTS) and wireless transmission. Soundbars with built-in receivers simplify the setup, one unit acts as both amplifier and transmitter. Standalone receivers offer more flexibility for speaker choices.
Wireless Surround Speakers (Rear Pair). These are typically smaller satellite speakers placed behind or to the sides of your seating area. They receive audio wirelessly and require a power outlet. Many modern pairs come with wall-mount brackets and adjustable feet for placement flexibility.
Wireless Subwoofer. The subwoofer handles low frequencies (bass) and is usually the largest component. It connects wirelessly to the receiver and sits on the floor, typically in a front corner. Subwoofers are powered (they have their own amplifier), so placement flexibility is high. A quality subwoofer is non-negotiable, it’s where most of the theater impact comes from.
Center Channel Speaker. Often integrated into the soundbar itself if you’re using a soundbar receiver. Standalone options mount above or below the TV. The center channel carries 60–70% of movie dialog and effects, so it’s worth the investment.
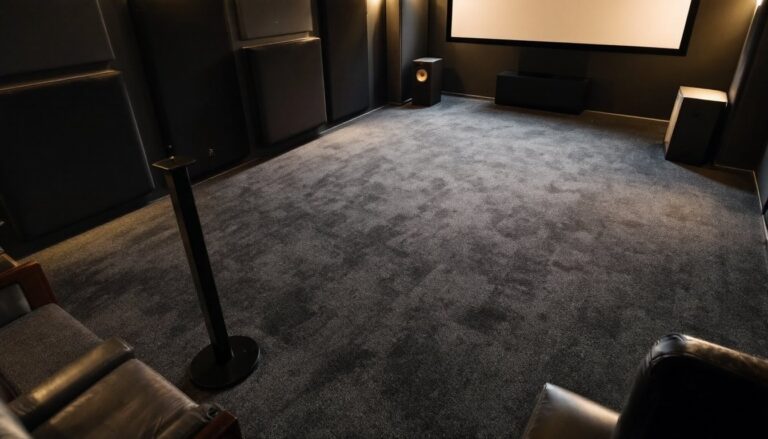
Supporting Hardware. HDMI cables (preferably version 2.0 or higher for 4K video pass-through), power strips with surge protection, and wall-mount brackets if you’re mounting speakers. Acoustic panels or dampening material can help room acoustics if you’re in a very hard, reflective space like a basement with concrete walls.
Installation and Setup for DIY Success
Step 1: Plan Your Layout. Measure your room and visualize speaker placement before buying. Surround speakers work best 1–2 feet above ear level when seated, angled slightly downward. The subwoofer can go in a front corner or along a side wall. Avoid placing it in a dead center, this can create nulls (dead zones) where bass sounds thin. The center speaker should be ear-level when seated.
Step 2: Choose Your Network (Wi-Fi vs. Bluetooth). Wi-Fi systems offer better range (50+ feet through walls) and more reliable audio. Bluetooth is simpler but limited to about 30 feet with line-of-sight. If your router is in the same room or adjacent, Wi-Fi is the safer choice. Bluetooth works in smaller apartments or studios with tight speaker spacing.
Step 3: Power and Placement. Install power outlets near speaker locations. You may need a licensed electrician if running a new circuit, check your local building codes. Many homeowners use strategically placed power strips with surge protection (absolutely essential for electronics). Ensure outlets are grounded and protected by a 15–20 amp breaker.
Step 4: Connect and Pair. Place the receiver, surround speakers, and subwoofer in their final positions. Power everything on and wait 30–60 seconds for the system to initialize. Use the companion app (most systems have one) or physical buttons on each unit to pair devices. Follow the manufacturer’s pairing sequence carefully, order matters. The receiver typically pairs first, then surround speakers, then subwoofer.
Step 5: Calibrate Audio Levels. Most systems include an auto-calibration feature that tests distance and levels using a microphone. Place the mic at ear level where you normally sit. Let it run through its test sequence. Manual tweaking may follow, but the auto calibration gets you 80% of the way there. After calibration, fine-tune surround speaker volume in the app, surround effects should enhance, not dominate.
Step 6: Test with Known Content. Use a movie or game with strong surround effects to verify all five channels are working. Listen for pans from front to back and side to side. Dialogue should feel anchored to the TV screen. Bass should be felt, not just heard, without rattling loose items.
Wireless Connectivity Best Practices
Maintain a strong 5 GHz Wi-Fi signal if possible. The 5 GHz band has less interference from microwaves and cordless phones but shorter range. If your router supports dual-band (2.4 GHz and 5 GHz), position it within 30 feet of the receiver. Remove obstacles: microwaves, baby monitors, and cordless phones all operate on 2.4 GHz and cause interference.
If you experience drop-outs or lag, move the router closer, switch to 5 GHz if available, or reduce interference by unplugging nearby wireless devices. Some high-end receivers let you toggle between Wi-Fi and Bluetooth dynamically, which adds redundancy.
Update firmware regularly through the app. Manufacturers push stability patches and latency improvements. Check monthly or enable auto-update if the system offers it.
Keep your receiver and surround speakers in a clear line-of-sight when possible, especially with Bluetooth. Wi-Fi penetrates walls better but still prefers open paths.
Top Features to Look for When Shopping
Dolby Atmos Support. This overhead audio channel adds height and envelops the listener. It’s the next step beyond 5.1 and is increasingly common on reasonably priced systems. If your TV and streaming content support Atmos, it’s worth the extra cost.
Low-Latency Audio Codec. Look for systems supporting aptX Low Latency or LDAC if using Bluetooth. Wi-Fi systems should advertise sub-100ms latency for video sync. A half-second lag between video and audio is jarring and ruins immersion.
Subwoofer Customization. Good subwoofers let you adjust crossover frequency (the point where bass transitions to main speakers) and phase alignment. This fine-tunes bass response to your room. Budget models lock these settings, less flexibility but simpler operation.
Compact Surround Speakers. Smaller surrounds are easier to place and less obtrusive. They don’t need to fill the room, they just provide directional cues and enveloping effects. Avoid massive surround speakers: they’re usually overkill for a 5.1 setup.
App-Based Control. A solid companion app lets you adjust levels, switch inputs, and troubleshoot without hunting for remotes. Some apps show which speakers are connected and battery status (for wireless speakers with batteries).
Compatibility with Your TV. Ensure the receiver has HDMI ARC or eARC support. This lets your TV send audio to the system over a single cable. Older TVs may require an optical connection, slower but functional. Recent wireless systems from brands like JBL and their Bar 5.1 Surround model demonstrate modern codec support and wireless reliability.
Multi-Room Capability. Some systems let you group speakers and play audio in other rooms. Useful but not essential for a dedicated home theater setup.
Warranty and Support. Look for at least a 2-year warranty on the receiver and 1 year on surrounds. Check that the manufacturer offers firmware updates and online support. A reliable home automation and tech resource can help you research long-term brand reliability and user experiences.
Conclusion
A wireless 5.1 home theater system is achievable for most DIY homeowners. Plan your layout, choose Wi-Fi for range or Bluetooth for simplicity, install power safely, and follow the manufacturer’s pairing steps carefully. The upfront time investment pays off in months of hassle-free movie nights, gaming sessions, and immersive audio without visible wires. Your living room becomes your theater, clean, flexible, and sounding like a real home cinema.