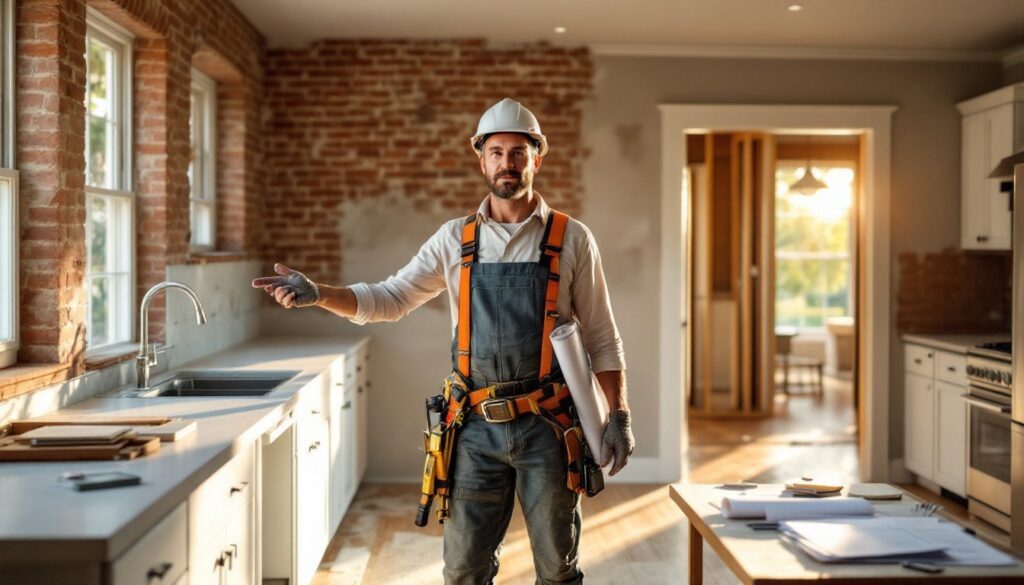

Building a tiny house is one of the most ambitious DIY projects you can undertake, and it’s absolutely within reach for a determined homeowner. Unlike a simple renovation, constructing a tiny house from scratch demands knowledge across framing, electrical, plumbing, and code compliance. But the payoff is enormous: you’re creating a highly efficient, personalized living space that reflects your values and priorities. This guide walks you through the essential phases of building a tiny house, from design and permits through final inspection, so you understand what’s ahead and can make informed decisions about what you’ll handle yourself versus what requires a licensed contractor.
Table of Contents
ToggleKey Takeaways
- Building a tiny house demands knowledge across framing, electrical, plumbing, and code compliance, but is achievable for committed DIYers who plan carefully and hire licensed professionals for regulated work.
- A solid design that maximizes vertical space, complies with local codes, and accounts for sleeping, cooking, bathing, and living zones is essential before beginning construction of your tiny house.
- Foundation choice (concrete slab, crawl space, or trailer frame) directly impacts structural design, utilities, and zoning approval, so verify local requirements and allow 28 days for concrete cure before framing.
- Most DIYers should hire licensed electricians and plumbers for main panels, rough-in, and final connections to avoid code violations that cause fires, floods, and failed inspections.
- Interior finishing tasks like insulation, drywall, custom cabinetry, and space-maximizing storage solutions are ideal DIY phases where hands-on builders can save thousands while personalizing their tiny house.
- Plan for 6 to 18 months of construction, attend all building inspections (foundation, framing, mechanical, and final), and keep detailed documentation for occupancy permits, resale, and insurance.
Understanding Tiny House Basics And Design Fundamentals
A tiny house is legally defined in most jurisdictions as a dwelling between 100 and 600 square feet, though definitions vary by location. Before diving into construction, you need a solid design that maximizes every inch and complies with local codes.
Start with a detailed floor plan that accounts for sleeping, cooking, bathing, and living zones. Many tiny house builders use vertical space aggressively, think lofts, tall cabinets, and multi-function furniture. Your design should specify stud spacing (typically 16 inches on center for standard framing), ceiling height (most codes require a minimum of 7 feet for at least 50% of habitable space), and exact window and door locations.
Consider whether you’re building a foundation-anchored unit or a mobile tiny house on a trailer. This choice affects structural design, utilities, and zoning approval. Mobile units need reinforced flooring for towing loads, while foundation homes require permanent footings. Sketch your layout in detail and have it reviewed by someone familiar with local code, skipping this step often leads to costly redesigns mid-build.
Planning Your Build: Zoning, Permits, And Foundation Setup
Tiny houses face zoning resistance in many areas. Check your local codes before committing to a location, some jurisdictions don’t permit tiny houses at all, while others have specific requirements for lot size, setbacks, and minimum floor area.
If your municipality allows tiny houses, you’ll need building permits for structural work, electrical, plumbing, and mechanical systems. Get copies of the International Residential Code (IRC) requirements and any local amendments that apply. Many cities now recognize the Appendix S guidelines specifically for tiny houses. Submit your plans early: review timelines can stretch weeks or months.
For the foundation, you have three main options: a concrete slab-on-grade (simplest and most affordable, typical cost $2,000–$5,000), a crawl space with a concrete perimeter (adds height and ventilation, $3,000–$7,000), or a trailer frame (if mobile). A slab works well for flat terrain, while crawl spaces handle sloped land better and allow under-home utilities. Mark out your foundation footprint carefully using stakes and string, precision here prevents frame misalignment. Pour concrete after the ground is compacted and leveled. Allow 28 days for full cure before framing begins.
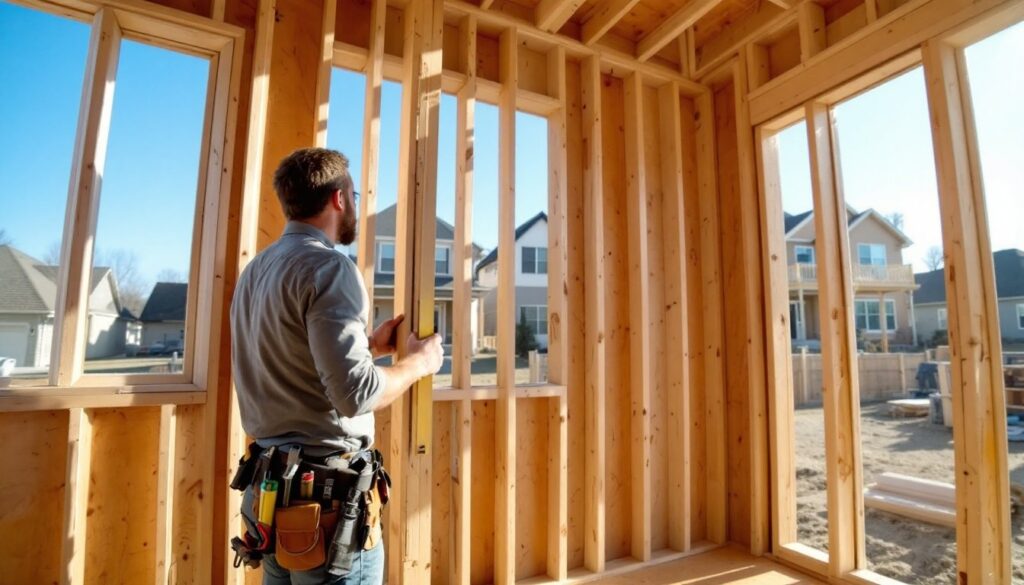
Framing And Structural Construction
Framing is where your tiny house takes shape. You’ll use standard 2×4 lumber stud walls (nominal 2×4, actual 1.5×3.5 inches) spaced 16 inches on center, just like a conventional home. The tight quarters of a tiny house mean every wall matters structurally.
Roof framing depends on your design. A simple gable roof with 2×6 or 2×8 rafters works for most tiny houses: trusses are faster and cheaper if you can source them locally. Install a moisture barrier and underlayment before shingles: standard asphalt shingles cost $100–$200 per square (100 square feet).
Key steps: (1) Install rim board and house wrap on the foundation. (2) Snap chalk lines every 16 inches for stud layout. (3) Cut and assemble walls on the ground, then tilt them up and brace them plumb. (4) Add top plates and let them settle for 24 hours before framing the roof. (5) Install roof sheathing, then underlayment and shingles.
For lofts, use 2×8 or 2×10 joists (floor framing members) rated for the intended span. Check your local code for minimum sleeping-area ceiling height above lofts. Use proper blocking between joists to prevent bounce. Many DIYers hire help for the tilt-up phase, it’s fast but risky solo. Frame inspection by the building department comes next: they’ll verify stud spacing, header sizing, and overall integrity before you cover walls.
Installing Utilities: Electrical, Plumbing, And HVAC
This section is where most DIYers need professional help, and that’s okay. Electrical and plumbing code violations cause fires, floods, and failed inspections.
Electrical wiring must meet the National Electrical Code (NEC). Your tiny house needs a main breaker panel (typically 100–200 amp service), properly grounded, with circuits for lighting, outlets, kitchen appliances, and heating. Outlets must be spaced no more than 6 feet apart in kitchens and bathrooms. Run Romex cable (also called NM cable) through studs, securing it every 4.5 inches. Hire a licensed electrician for the main panel and final hookup: many jurisdictions require this by code.
Plumbing requires water supply lines (typically 1/2-inch diameter copper or PEX plastic), waste lines, and venting. Slope drain lines at 1/4 inch per foot downward toward the main drain. In climates that freeze, insulate all exposed water pipes and consider a heat-tape for redundancy. Again, hire a licensed plumber for rough-in and final connections.
HVAC in a tiny house is tight. Many builders use a mini-split heat pump (a wall-mounted unit that heats and cools) rather than ductwork, which eats precious space. Cost is $2,000–$4,000 installed. If you use forced air, insulate ducts thoroughly to reduce losses. Ventilation is critical in a sealed tiny house: an ERV (energy-recovery ventilator) brings fresh air while exhausting stale air efficiently.
Interior Finishing And Space-Maximizing Solutions
Interior finishing is where you can reclaim your DIY skills. Insulation, drywall, and custom storage are all feasible for a hands-on builder.
Insulate walls with fiberglass batts (R-13 or R-15 for 2×4 walls) or closed-cell spray foam (R-6.5 per inch). Spray foam is pricier ($1.50–$2.50 per board-foot) but has superior air-sealing properties. Don’t skip the ceiling, it loses the most heat. Use R-30 or higher. Vapor barriers matter: use kraft-faced batts on the inside in cold climates, or apply a continuous polyethylene sheet.
Drywall in a tiny house involves taping, mudding, and sanding, labor-intensive but learnable. Use 1/2-inch drywall on walls and 5/8-inch on ceilings (more fire-resistant). Finish with primer and paint.
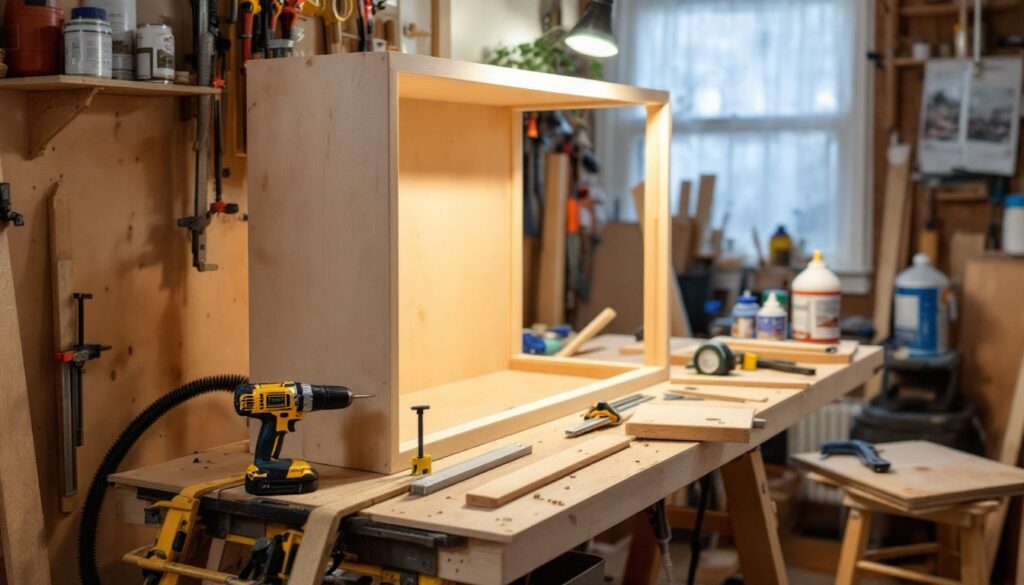
Custom cabinetry and storage turn a tiny house from cramped to clever. Build vertical shelving, under-stair storage, and Murphy beds with fold-up desks. Use the building and construction ideas available online to inspire efficient layouts. Recessed shelving carved into wall cavities doesn’t eat floor space. Flooring, whether plywood subfloor, luxury vinyl, or hardwood, seals against moisture with a 6-mil polyethylene underlayment beneath.
Final Inspections And Moving Into Your Tiny Home
Building inspectors will visit at key stages: foundation, framing, mechanical rough-in (before walls close), and final. Don’t skip any, incomplete inspections mean no occupancy permit.
Before the final walk-through, verify all utilities are code-compliant. The electrical inspector confirms proper grounding, bonding, and circuit protection. Plumbing inspection checks for proper slope, venting, and trap sealing. HVAC approval verifies ductwork or mini-split sizing matches the home’s heat load. Many tiny house builders reference building codes and regulations for tiny homes to stay aligned with standards.
Once you receive the occupancy permit, you can legally move in. Start by testing all systems: run water through every faucet, flush toilets, check heating/cooling, and verify outlets. Keep documentation of everything, permits, inspection reports, utility connections, for resale and insurance.
Building a tiny house is a marathon, not a sprint. Most DIY projects take 6 to 18 months depending on your involvement level and local pace. Be honest about when to hire experts: foundation, electrical main, and plumbing rough-in are worth the investment. But framing, finishing, and custom storage let you inject your own effort and save thousands. Resources like Bob Vila and Apartment Therapy offer ongoing inspiration and troubleshooting advice for small-space living.
Conclusion
Building a tiny house demands planning, permits, and professional help where codes require it. But the hands-on phases, framing, insulation, drywall, and custom storage, are genuinely doable for committed DIYers. Start with solid design, respect zoning rules, and don’t skip inspections. Your reward is a home built exactly to your vision, efficiently designed, and deeply satisfying to inhabit.