
Building a tiny house is a legitimate DIY challenge that combines foundation work, framing, electrical systems, and finishing, all on a compressed footprint. Unlike a shed or cottage, a tiny house must meet residential building codes and accommodate full-time living. The movement has matured since its 2010s novelty peak, and municipalities now have clearer regulations. Before breaking ground, you’ll need to understand zoning laws in your area, plan every inch of your layout, and honestly assess what work you can handle versus what requires a licensed contractor. This guide walks you through the essential phases, from permits to final trim.
Table of Contents
ToggleKey Takeaways
- Building a tiny house requires compliance with residential building codes, zoning laws, and permits—contact your local building department early to confirm regulations on square footage limits and ADU allowances.
- Smart layout design is critical: prioritize sleeping, kitchen, and bathroom zones while using vertical storage, light colors, and multi-wall windows to maximize perceived space in your 300–400 sq ft footprint.
- Hire licensed professionals for structural, electrical, plumbing, and utility work; DIY finishing tasks like insulation, drywall, and painting offer cost savings without code risks.
- Choose your foundation type (concrete slab, pier-and-beam, or trailer) based on local frost line requirements and zoning restrictions, as this affects long-term durability and resale value.
- Prioritize insulation (R-20 walls, R-40 to R-60 attic) and a ductless mini-split heat pump system due to the high surface-to-volume ratio that causes rapid heat loss in tiny homes.
- Realistic self-assessment is essential: honestly evaluate which tasks you can handle versus which require a licensed contractor to avoid costly mistakes and failed inspections.
Understanding Tiny House Fundamentals and Zoning Requirements
A tiny house is typically defined as a dwelling under 400 square feet (some jurisdictions set 500 sq ft as the threshold). Most tiny houses sit on foundations, either concrete pads, pier-and-beam systems, or trailers, rather than being fully mobile RVs. This matters legally, because residential codes apply.
Zoning laws vary wildly by county and city. Some areas allow tiny houses as accessory dwelling units (ADUs), while others restrict minimum square footage or lot size. Before you design or buy land, contact your local building department and ask: Does our zoning permit residential structures under X square feet? Do we have setback requirements? Is an ADU allowed? Are there minimum ceiling heights? This conversation takes two hours and saves months of regret.
You’ll almost certainly need a permit for foundation, framing, electrical, and plumbing work. A professional engineer or architect may be required to stamp structural drawings, especially if your design deviates from standard plans. Don’t skip this step. Unpermitted work can trigger fines, failed inspections, insurance claims denials, or forced removal.
Building code references the International Residential Code (IRC) or International Building Code (IBC), though states and localities modify these. Key requirements for tiny houses include minimum room widths (typically 7 ft), ceiling heights (usually 7 ft 6 in, except lofts can be lower), egress windows in bedrooms, and ventilation standards. Lofts in tiny houses are allowed but must meet specific headroom and access rules.
Designing Your Tiny House Layout and Space Planning
Smart layout is everything in a tiny house. You’re working with roughly 300–400 sq ft, and every inch counts.
Start by mapping your daily routines: sleeping, cooking, working, relaxing, bathing. Sketch these zones. Open-plan kitchens and living areas save space but can feel cramped and trap cooking odors. A sliding door or folding partition between the kitchen and bedroom/living area gives flexibility without losing square footage to hallways.
Non-negotiable zones are the bathroom (typically 40–50 sq ft minimum for a toilet, sink, and shower), kitchen (75–100 sq ft for prep space and appliances), and sleeping area. Multi-functional furniture is tempting, bed platforms with storage underneath, fold-down desks, murphy beds, but be honest about whether you’ll use it. A murphy bed that stays down all day is just a bed taking up floor space.
Maximizing Square Footage With Smart Design Choices
Vertical storage dominates tiny house design. Floor-to-ceiling shelving, wall-mounted desks, and overhead cabinets free up floor area. Ceiling height matters: ensure you don’t feel trapped. Light colors on walls and ceilings reflect light, making spaces feel larger. Large windows on at least two walls improve airflow and perception of space.
Open shelving in the kitchen saves cabinet depth (typically 12 in) but requires discipline, open shelves show clutter. Closed cabinetry or a partial wall between living and sleeping areas helps mentally divide the space. Staircases to lofts should be steep (steeper than standard stairs, per code allowances) to save floor space: ship’s ladders work if your local code permits.
Where possible, use the same flooring throughout to visually expand the space. Avoid heavy pattern changes that chop up the floor plan. Plumbing and electrical lines should run vertically through studs to avoid routing around the interior: coordinate with your builder or electrician early.
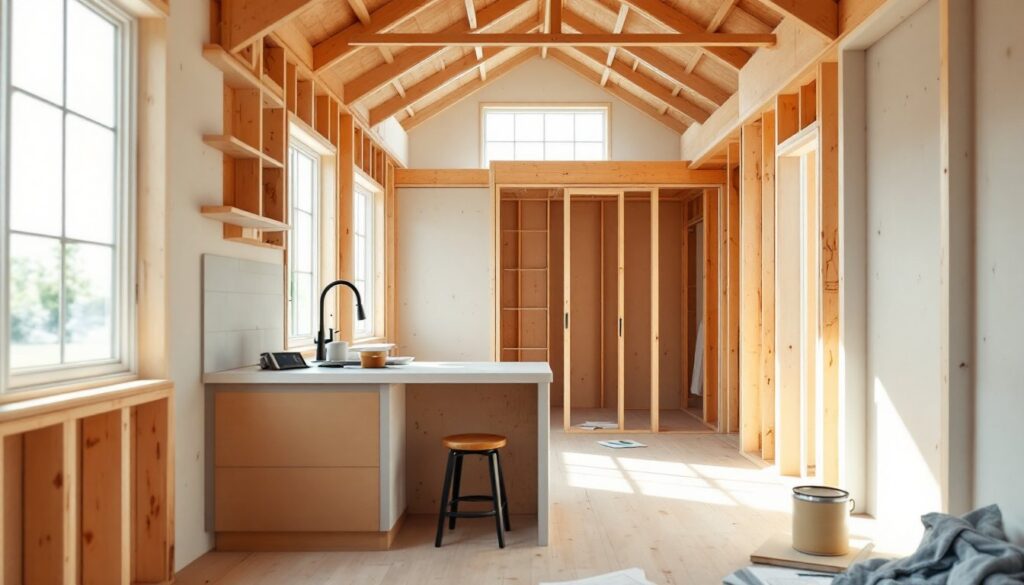
Building Materials, Foundation, and Construction Basics
Foundation choices affect cost, permanence, and code compliance. Concrete slab-on-grade is simplest for a small footprint: excavate, pour a 4-inch concrete pad with a frost line that meets your local code (typically 2–4 feet deep), and frame on top. Pier-and-beam (concrete piers at frost depth with pressure-treated lumber beams) allows under-house storage and ventilation. Trailer-based foundations let you relocate but may face zoning restrictions.
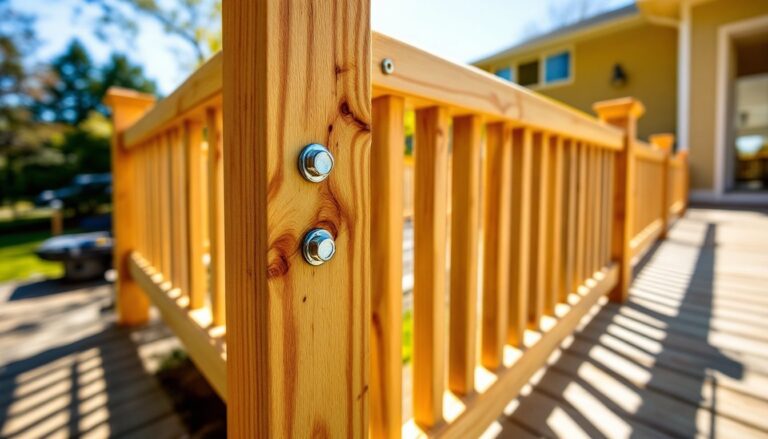
Framing a tiny house uses standard 2×4 or 2×6 studs (actual dimensions: 1.5×3.5 or 1.5×5.5 inches) spaced 16 inches on center (O.C.), same as any house. Nominal lumber dimensions are historical: actual sizes run 0.5 inches smaller in each direction. Order extra for waste and mistakes, assume 10% loss. Roofing must accommodate your region’s snow load and wind speed: a simple gable roof is cheaper than a complex design, but a metal roof outlasts asphalt shingles (25+ years vs. 15–20).
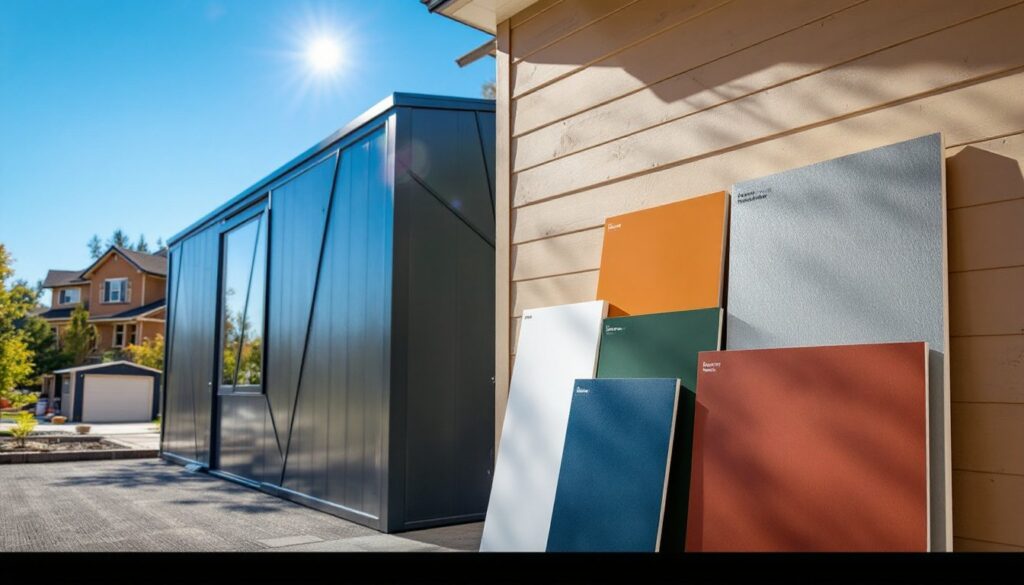
Wall sheathing and external weather barriers are non-negotiable. Use exterior-grade plywood or OSB, then a moisture-barrier membrane, then siding. This protects your frame from rain and reduces mold risk. Insulation is critical: tiny houses have a high surface-to-volume ratio, meaning more heat loss. Aim for R-20 walls (4.5 in of foam or batts) and R-40 to R-60 attic/roof depending on your climate. Double-stud walls (R-25) or spray foam add cost but reduce thermal bridging through studs.
References like those at Fine Homebuilding detail code-compliant details for tiny homes, including reduced ceiling heights and loft egress windows. Work with a carpenter experienced in small homes if you’re not confident in framing: structural mistakes are expensive and dangerous.
Installing Utilities and Essential Systems
Electrical wiring in a tiny house must meet the National Electrical Code (NEC) and local amendments. Most DIYers should not run main panels or high-amperage circuits: hire a licensed electrician for service entrance, sub-panels, and anything over 20 amps. Outlet and light switch placement matters: avoid excessive cord runs and ensure outlets are accessible (typically every 6 feet along walls). GFCI (ground fault circuit interrupter) protection is mandatory in bathrooms, kitchens, and exterior outlets.
Plumbing also requires a licensed plumber in most jurisdictions, especially for sewer hookups. DIYers can roughing (installing supply and drain lines before walls close) if permitted locally, but final connections and inspector sign-offs typically need a pro. Use PEX tubing (cross-linked polyethylene) for supply lines, it’s flexible, durable, and faster than copper. Drain lines remain PVC or ABS. Vent stacks must be sized per code and terminate above the roof to prevent sewer gas issues.
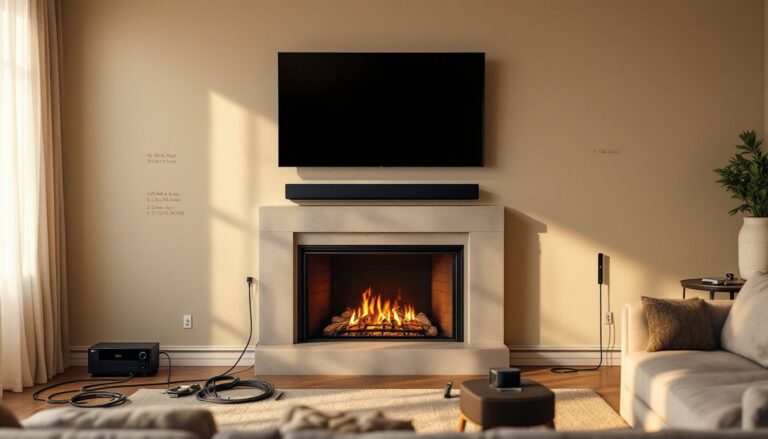
HVAC in a 300–400 sq ft space is simpler than a full house but still critical. A mini-split heat pump (ductless system) heats and cools efficiently and doesn’t require extensive ductwork. Alternatively, a small central unit with insulated ducts works. Ensure bathroom and kitchen exhaust vans tie to exterior venting, not into attics. Water heaters: a tankless unit saves space: electric is simpler than propane for a beginner, though propane is cheaper to operate.
Gas and propane lines, septic systems, and well work all require licensed professionals. Don’t DIY these. The cost of hiring a pro is trivial compared to a gas leak or contaminated water supply.
Interior Finishing and Organization Strategies
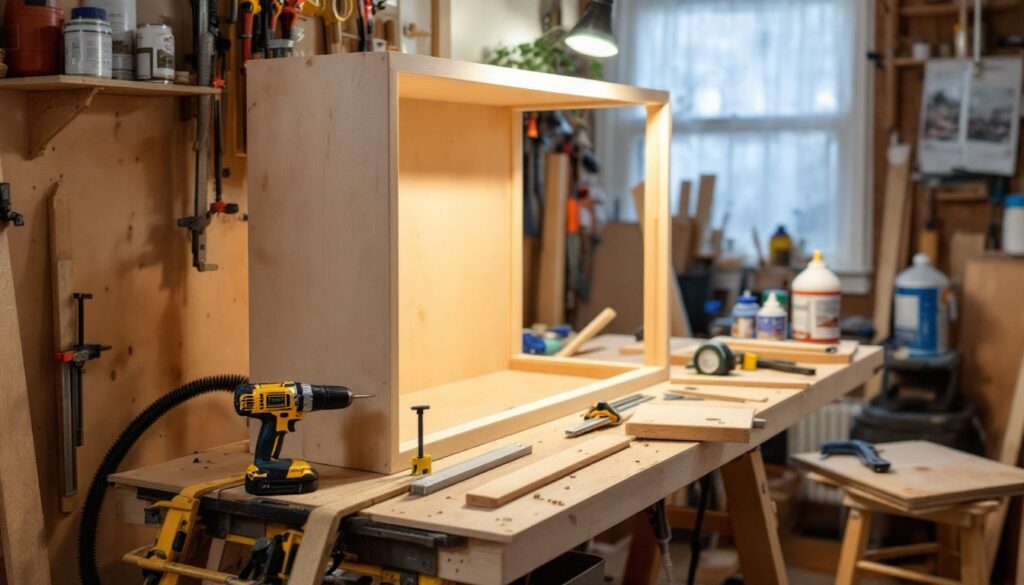
Once framing, roofing, and utilities are in place, interior finishing begins. This phase includes insulation, drywall, flooring, paint, and trim, where DIYers often thrive.
Insulation should be installed immediately after framing inspection but before electrical rough-in (so you can see studs). Batts are cheapest: spray foam is more effective but pricier. Ensure no air gaps, especially around windows and doors. Drywall (also called gypsum board) covers walls and ceilings: 5/8-inch fire-rated drywall is standard. Tape, mud, and sand the joints smooth, tedious but learnable. If you’re uncomfortable, hire this out: poor mudding looks amateurish forever.
Flooring choices are personal and budget-dependent. Vinyl plank ($2–4/sq ft installed) is waterproof and easy. Hardwood ($5–10/sq ft) looks great but requires acclimation. Tile or concrete add weight and cost but are durable in small kitchens and baths. Subfloor preparation is vital: ensure the surface is level and clean before flooring installation.
Paint: Prime all new drywall before finish coats. One primer + two finish coats is standard. Use paint suited to the room (bathroom paint resists moisture: kitchen paint wipes clean). Trim and doors come pre-finished or painted on-site. Ship’s ladders or steep stairs to lofts should be sanded, stained, or painted for durability and appearance.
Storage and organization are psychological as much as physical. Open shelves look modern but require constant tidying. Closed cabinets hide mess but cost more. Built-in shelving on walls saves floor space. Projects from Ana White and Fix This Build That offer free plans for storage benches, shelving, and multi-functional furniture scaled to tiny spaces. Maximize every nook: under-stairs storage, headboard shelves, kitchen peninsula drawers.
Conclusion
Building a tiny house demands respect for codes, realistic assessment of your skills, and obsessive attention to detail. Zoning and permits are non-negotiable: structural, electrical, and plumbing work often requires licensed pros. Layout and finishing, by contrast, are excellent DIY territory. Start with a solid plan, secure all permits upfront, and don’t skip prep work or details that seem minor, they’re not. The result is a compact, intentional home tailored to your life.