
A covered patio transforms your backyard into a functional outdoor room, a place to entertain, relax, or simply escape the summer heat without retreating indoors. Whether you’re planning a simple wood-frame structure or a more elaborate design, building a covered patio is an achievable DIY project for homeowners willing to invest time and effort into proper planning. This guide walks you through everything from initial design decisions to final touches, with honest talk about what you can handle solo and where you might need a second pair of hands. By the end, you’ll understand the core steps, material choices, and safety considerations needed to build a covered patio that’s both beautiful and built to last.
Table of Contents
ToggleKey Takeaways
- Building a DIY covered patio requires careful planning, including measuring your site, checking local building codes and permits, and setting a realistic budget of $2,500–$6,000 for materials on a 12 × 16 foot structure.
- Choose your covered patio design and materials strategically—wood offers traditional appeal but needs regular maintenance, metal is low-maintenance and durable, and polycarbonate is beginner-friendly and cost-effective for roofing panels.
- A solid foundation with properly installed frost-line postholes, concrete footers, and a correctly flashed ledger prevents sagging, rot, and structural failure over time.
- Essential safety gear, proper tools (power drill, circular saw, miter saw, and level), and correct fastener installation—using rated joist hangers and stainless steel hardware—are non-negotiable for a safe, lasting structure.
- Regular maintenance, including resealing wood every 2–3 years, inspecting connections after storms, and cleaning polycarbonate panels, keeps your covered patio attractive and prevents costly repairs.
Planning Your Covered Patio Project
Before you buy a single board, take time to envision the finished space. Start by measuring your desired patio size and consider how it connects to your home, will you attach it to an existing deck, or build it as a standalone structure? A typical small patio runs about 12 feet by 16 feet, though yours might be larger or smaller depending on your yard and budget.
Next, check local building codes and zoning restrictions. Most municipalities require permits for permanent structures like covered patios, especially if they’re 200 square feet or larger, have electrical components, or attach to the house. Contact your local building department early: permits typically take 2–4 weeks and cost $100–500 depending on your area. Some jurisdictions also require a licensed contractor for foundation work or electrical installation, don’t skip this step. A citation or forced teardown will cost far more than doing it right the first time.
Measure your site carefully. Note the slope of the ground, sun direction, and any underground utilities (call your local utility locating service before digging). Sketch a rough layout on graph paper with dimensions. Consider headroom, aim for at least 7 feet 6 inches minimum for comfortable movement, though 8 feet is ideal under a patio roof.
Budget realistically. A basic 12 × 16 foot covered patio with a wood frame and polycarbonate roof runs $2,500–$6,000 for materials, depending on lumber quality and finishing. Add contingency for unexpected issues, tool rentals, or permit costs.
Choosing Your Patio Design And Layout
Your design affects both aesthetics and function. A lean-to style (roof sloping away from the house) is simplest for attached patios and sheds water effectively. A gable or pitched roof adds height and visual interest but requires more framing. A flat roof is modern and space-efficient but needs proper drainage, flat roofs must slope very slightly (at least 1/4 inch per 12 feet) to prevent pooling.
Consider the roof opening style, too. A slatted or louvered design lets light through while filtering harsh sun. A solid roof provides full shade but can feel heavy or trap heat. Open-beam designs (exposed joists) give a cleaner look but offer no weather protection. Many DIYers choose a hybrid: solid polycarbonate panels with a slight overhang plus removable shade cloth for adjustable coverage.
Several designers offer covered patio ideas that balance form and function, look at 20 covered patio designs that add style and shade to see what resonates with your home’s architecture and landscape.
Think about access and flow. If you’re attaching to the house, where will the main opening be? A door from the kitchen or living room makes the space feel like an extension of the indoors. Include at least one clear walking path from the house to the patio’s edge and beyond.
Sketching your design helps catch problems early. Use a simple elevation drawing (a side view) to show the roof pitch and height relationships. This sketch also helps when applying for permits.
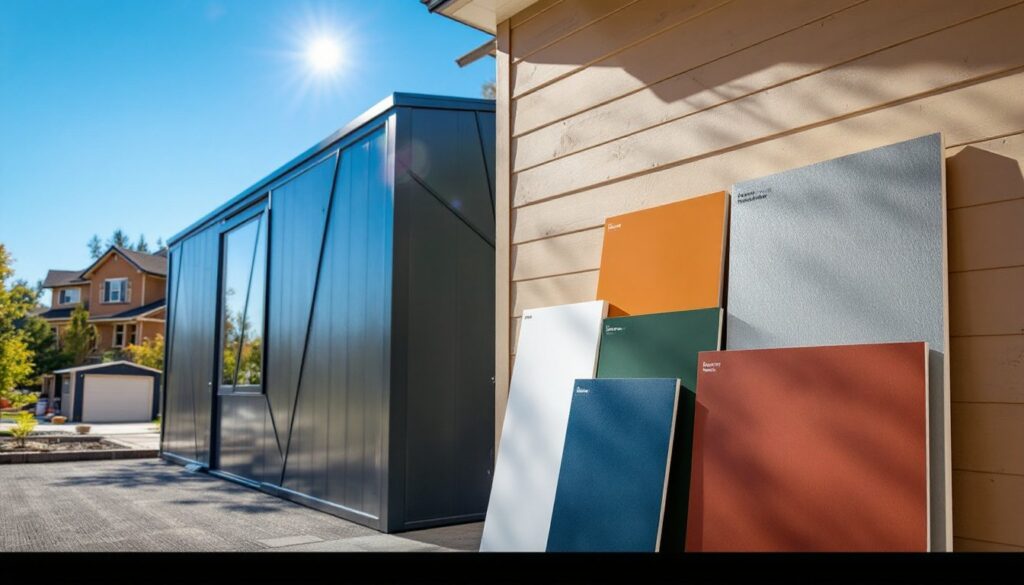
Selecting The Right Materials
Wood Vs. Metal Vs. Polycarbonate Options
Wood is the most traditional choice and blends naturally with most homes. Pressure-treated lumber (typically rated for ground contact) resists rot and is affordable, about $1–$2 per linear foot for 2×6 joists. The trade-off: wood requires regular sealing or painting every 2–3 years to prevent weathering. Cedar or redwood look better long-term but cost 2–3 times more. Nominal lumber (a “2×6” is actually 1.5 inches × 5.5 inches) spans about 12 feet unsupported: longer spans need additional posts or steel reinforcement.
Metal, usually aluminum or steel, is low-maintenance and spans longer without sagging. Aluminum doesn’t rust and needs only occasional washing, making it ideal for humid climates. Steel is stronger but requires rust prevention paint or powder coating. Metal is pricier upfront ($3–$5 per linear foot) but saves on maintenance. Aluminum also stays cooler in direct sun, while steel can conduct heat.
Polycarbonate (hard plastic sheets) is lightweight, diffuses UV rays, and costs $1.50–$3 per square foot for corrugated panels. It yellows slightly over time but won’t crack like glass. Twin-wall polycarbonate offers better insulation than single-wall but weighs more. Polycarbonate is forgiving for first-timers because it cuts easily with a circular saw and doesn’t require finishing.
For roofing, combine materials strategically. A wood or metal frame with polycarbonate panels is a smart blend: traditional look, low maintenance, and good durability. Solid roofing (wood shingles, metal, or composite) costs more but lasts longer and handles heavy snow loads.
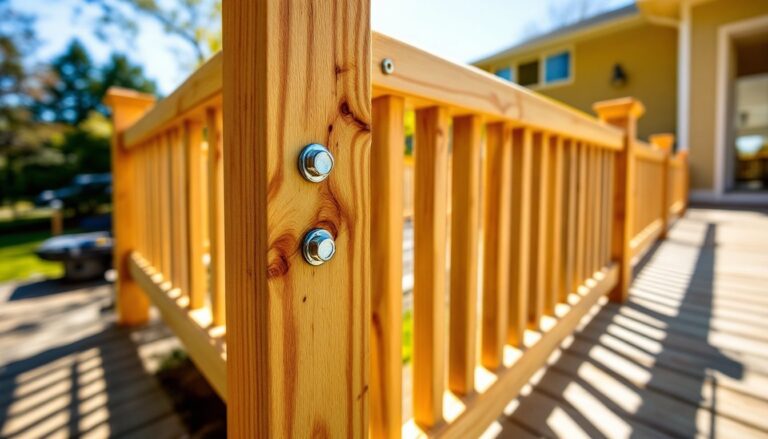
Don’t overlook fasteners and connectors. Stainless steel or galvanized hardware resists rust. Joist hangers rated for your lumber size ensure secure connections, undersizing fasteners is a common cause of patio failures.
Essential Tools And Permits You’ll Need
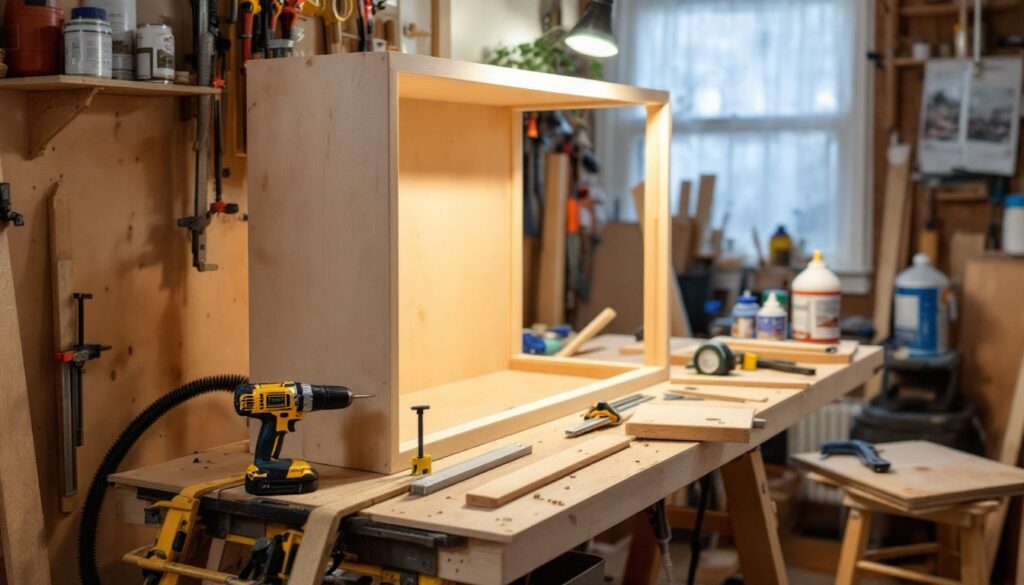
You’ll need a core set of tools. A power drill-driver, circular saw, miter saw (for clean angled cuts), level, tape measure, and post level are non-negotiable. A miter saw beats a circular saw for consistent, square crosscuts. A reciprocating saw is helpful for cutting around obstacles. If you’re working alone, grab a speed square and a chalk line for layout accuracy.
Safety gear is not optional: ANSI-rated safety glasses, work gloves, a dust mask (N95 minimum when cutting treated lumber), and ear protection (NRR 20–30 dB) are baseline. Working at height requires a harness and lanyard if you’re more than 6 feet up. Pressure-treated lumber dust contains copper compounds, don’t breathe it.
Rental tools save money on one-time projects. A power auger ($40–$60 per day) speeds up digging postholes. A circular saw can be rented if you don’t own one. A pneumatic nail gun accelerates fastening, but a corded or battery-powered drill-driver works fine for bolts and screws.
For permits, you’ll submit drawings, a site plan, and a materials list to your local building department. They’ll issue a permit number and schedule inspections at key stages, typically foundation/posts, framing, and final completion. Passing inspections protects your homeowner’s insurance and property resale value. Don’t skip this.
Check step-by-step DIY tutorials and maker guides to find detailed patio-building walkthroughs from experienced builders, these often include photo galleries and material lists that clarify the steps.
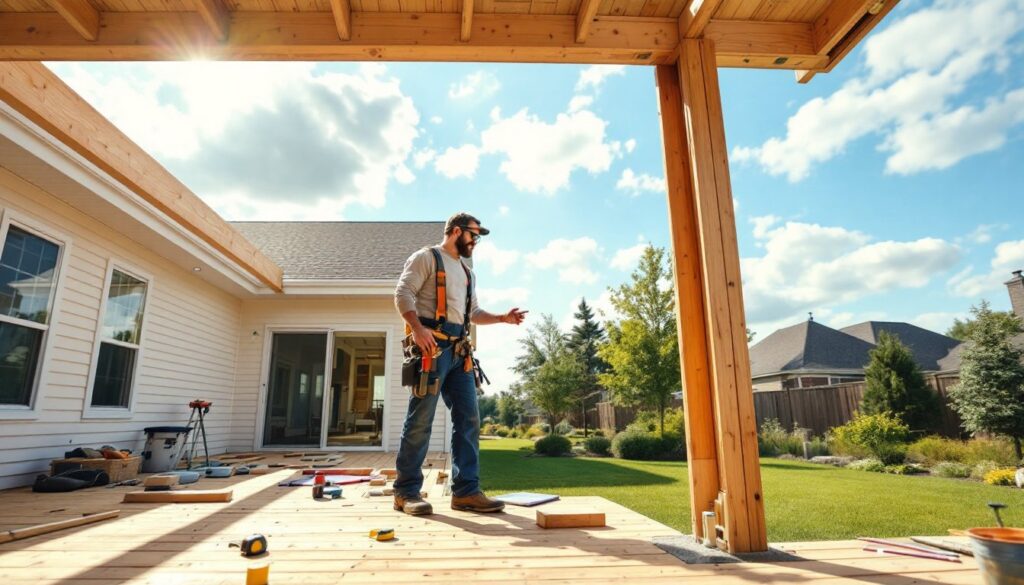
Building Your Patio Foundation And Structure
A solid foundation prevents sagging, rot, and collapse. For attached patios, dig frost-line postholes (typically 36–48 inches deep, depending on your climate zone, check local code) at intervals of 8–12 feet. Use a post auger to speed this up. Pour a concrete footer (typically 10 inches of concrete below grade, 2 inches above) for each post. This lifts the wood above soil moisture and frost heave.
Set pressure-treated posts (usually 4×4 or 6×6, depending on load) in the concrete. Use a post level to plumb them (perfectly vertical). Let concrete cure 48 hours before loading.
For the ledger (the beam bolted to your house), use galvanized lag bolts spaced 16 inches apart, drilled into the house’s rim joist, not into siding. This is where many DIYers stumble. Remove siding, install galvanized flashing to shed water away from the house, then reattach siding over the flashing. Improper flashing invites rot into the band board.
Frame the roof structure using 2×8 or 2×10 joists (spacing depends on snow load and material weight, check code). Attach joists to the ledger with joist hangers rated for your joist size and fastener type. Joists should slope slightly (1/4 inch per 12 feet minimum) toward the front for drainage.
Install metal brackets or knee braces between posts and beams if the span is long: these resist racking (twisting). Polycarbonate or metal roofing panels attach to the joists with closure strips and fastening clips, follow the manufacturer’s instructions precisely: misaligned panels leak or sound loud in wind.
Ensuring proper load paths is critical. Every connection, from roof to joist, joist to beam, beam to post, post to footer, must be rated and installed correctly. Undersizing fasteners or skipping connectors leads to failure under snow or wind loads.
Finishing Touches And Maintenance
Once the structure is sound and inspected, finish details make the space livable. Sand rough lumber with 80–120 grit sandpaper to reduce splinters. Apply a water-based stain or exterior-grade paint (two coats) to wood: this protects against UV fade and weather. Cedar or redwood can be left natural, but they’ll gray over time, seal them annually to preserve color.
Add functional elements: string lights or recessed LED fixtures (installed by a licensed electrician if you lack experience with outdoor wiring) set the mood. A ceiling fan improves air circulation on humid days. Gutters and downspouts direct water away from the foundation and the patio itself.
Consider the ground surface. Bare soil gets muddy and weeds sprout. Outdoor pavers, gravel, or composite decking under the patio create a clean, usable floor. Permeable materials (like gravel) reduce water runoff.
Look at garden design ideas and outdoor living spaces for inspiration on landscaping around your new patio, plantings and hardscaping tie the structure into the broader landscape.
Maintenance keeps your patio safe and attractive. Pressure-treated wood needs resealing every 2–3 years (test by pouring water on the surface: if it beads up, sealer is still good). Check for rot or insect damage annually, especially around the ledger and posts. Polycarbonate panels yellow slightly over time but won’t fail, clean them with mild soap and water. Metal hardware should be inspected for rust and touched up as needed.
After heavy snow or storms, inspect connections and brackets for movement. Tighten bolts and fasteners if they’ve shifted. A small amount of maintenance now beats a major repair later.