
A kitchen island transforms both function and flow in a home. It becomes extra counter space, storage, and a gathering spot, all rolled into one. Building your own island beats paying contractors thousands of dollars, and the work is well within reach for a handy homeowner willing to take it step-by-step. This guide walks you through the entire process: from measuring your space and choosing materials to installing countertops and handling electrical needs. Whether you’re working in a small kitchen or a sprawling open concept, you’ll find a path forward.
Table of Contents
ToggleKey Takeaways
- Building a kitchen island requires at least 36 inches of clearance on all sides, with most islands running 24–36 inches deep and 3–8 feet long to balance functionality and space.
- A base-cabinet construction using 2×4 lumber and pocket-hole joinery is the most beginner-friendly approach, costing $100–$300 for structural materials and taking 2–3 weekends for a small island.
- Always hire a licensed electrician for kitchen island electrical work and a plumber for sink installation to ensure code compliance and avoid costly inspection failures.
- Laminate countertops ($15–$30 per linear foot) offer the fastest installation, while wood and butcher block ($40–$80) require sealing but provide superior durability and aesthetic appeal.
- Measure your kitchen space carefully on graph paper before construction, and always check your island base for level in all directions using shims to prevent structural problems later.
Planning Your Island Design And Layout
Assessing Your Kitchen Space And Dimensions
Before you buy a single board, measure your kitchen carefully. A kitchen island needs at least 36 inches of clearance on all sides, this is the standard walking and workspace buffer. If your kitchen is tight, you might squeeze by with 30 inches in a pinch, but people will feel cramped. Measure from your existing cabinets and appliances to understand what room you actually have.
Most residential kitchen islands run 24 to 36 inches deep and 3 to 8 feet long. Longer islands (6–8 feet) work in open-concept kitchens but eat floor space in smaller homes. Sketch out your kitchen to scale on graph paper, it takes five minutes and prevents expensive mistakes. Mark where your main walkways are, where cabinet doors swing, and where appliances like the refrigerator live.
Consider the island’s height too. Standard countertop height is 36 inches. If you’re adding bar seating, you might go 42 inches on the island’s perimeter to accommodate stools, or do a split-level design with a raised bar on one end.
Choosing Your Island Style And Materials
Island style breaks down into a few common builds: base-cabinet construction (using standard cabinetry as a foundation), open-frame or support-leg construction (sturdier look, more visual openness), and solid-block construction (using thick lumber or laminated stock). Base-cabinet builds are easiest for beginners and give the most storage. Open-frame takes more carpentry skill but looks lighter and modern.
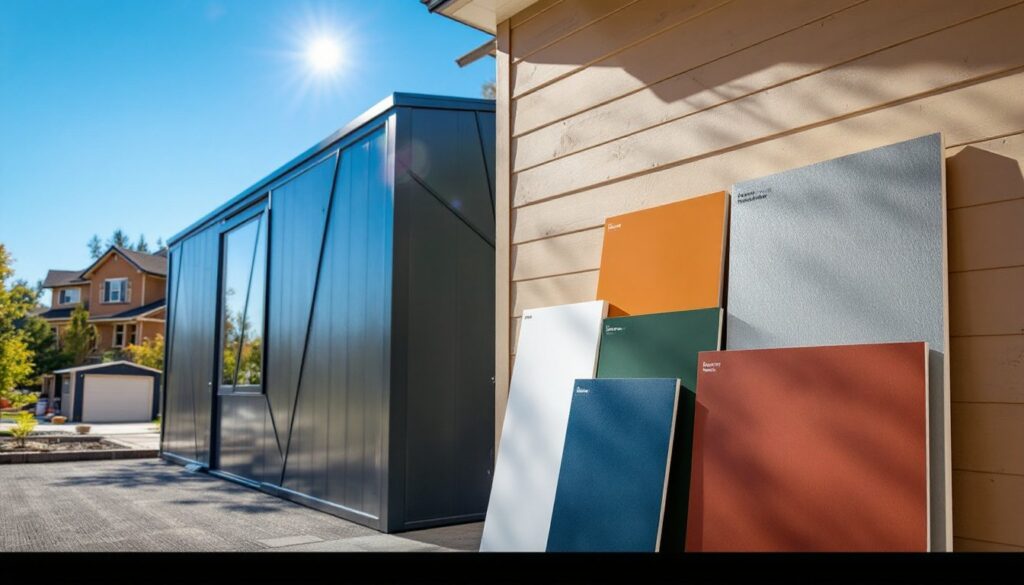
Material choice depends on your budget and style. Solid wood like maple or cherry costs more but ages beautifully. Pine and plywood are budget-friendly and paint well. If you go painted, use quality primer on all raw wood before paint, this prevents bleed-through and protects the wood. Budget $100–$300 for structural materials on a small island, more if you use premium hardwoods.
Essential Tools And Materials You’ll Need
Hand and power tools: You’ll need a circular saw or miter saw (a miter saw makes cleaner angle cuts), a drill-driver, a level, a tape measure, a square, clamps, and basic hand tools (hammer, chisel, screwdrivers). A table saw is helpful but not mandatory if you’re doing mostly straight cuts. If you’re not confident with power tools, renting them from a local home center often costs under $30 per day.
Materials checklist:
• Lumber: 2×4s and 2×6s for the frame (nominal dimensions are what you order: actual dimensions run 1.5″ × 3.5″ and 1.5″ × 5.5″)
• Plywood for the base (3/4″ cabinet-grade for durability)
• Pocket-hole screws, 2.5″ wood screws, and L-brackets
• Shims (cedar shims cost $5–$8 per bundle)
• Countertop material (laminate, wood, butcher block, or concrete)
• Paint or stain (if finishing in color)
• Primer and topcoat (at least 2 coats of each)
Safety gear: Wear safety glasses, work gloves, dust mask or respirator when cutting, and hearing protection around power tools. If you’re sanding, a good respirator is non-negotiable, fine dust harms your lungs.
Building The Island Base And Frame
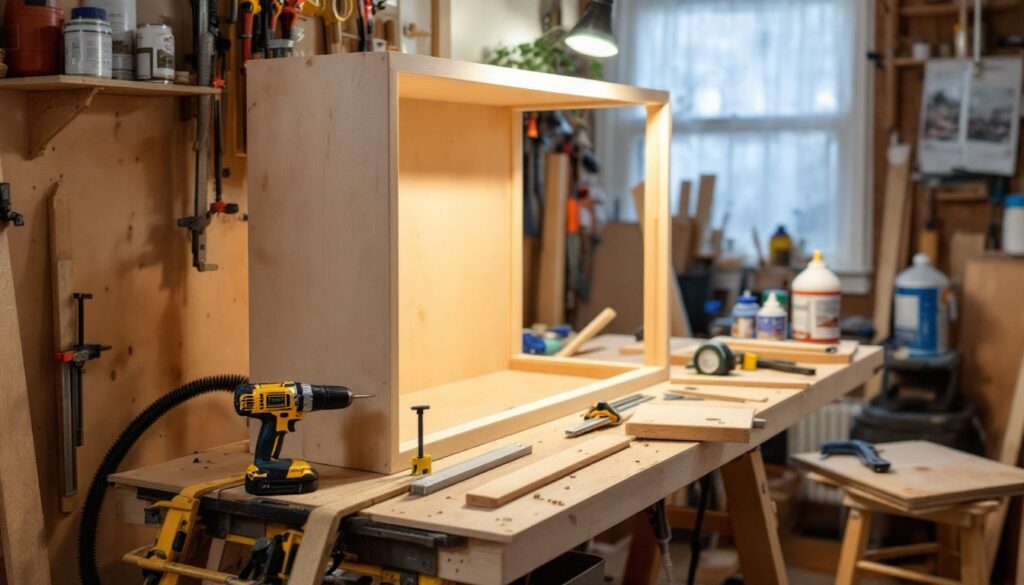
Start with a solid foundation. Build a frame from 2×4 lumber using pocket-hole joinery (a Kreg jig simplifies this, costing around $80–$120 if you don’t own one). Pocket holes are hidden when assembled and create strong joints without visible fasteners.
- Cut your frame pieces to length, accounting for the island’s finished dimensions minus 1–2 inches for overhang on the sides.
- Assemble the perimeter frame using pocket holes and 2.5″ screws. Keep it square using a carpenter’s square on all corners: clamp pieces while fastening.
- Add cross-bracing every 24 inches with 2×4s running perpendicular to add rigidity and distribute weight.
- Attach legs or base panels using pocket holes or mortise-and-tenon joinery if you want a refined look. Standard legs are 4×4 or built-up 2×4 stacks, mounted at the frame’s corners.
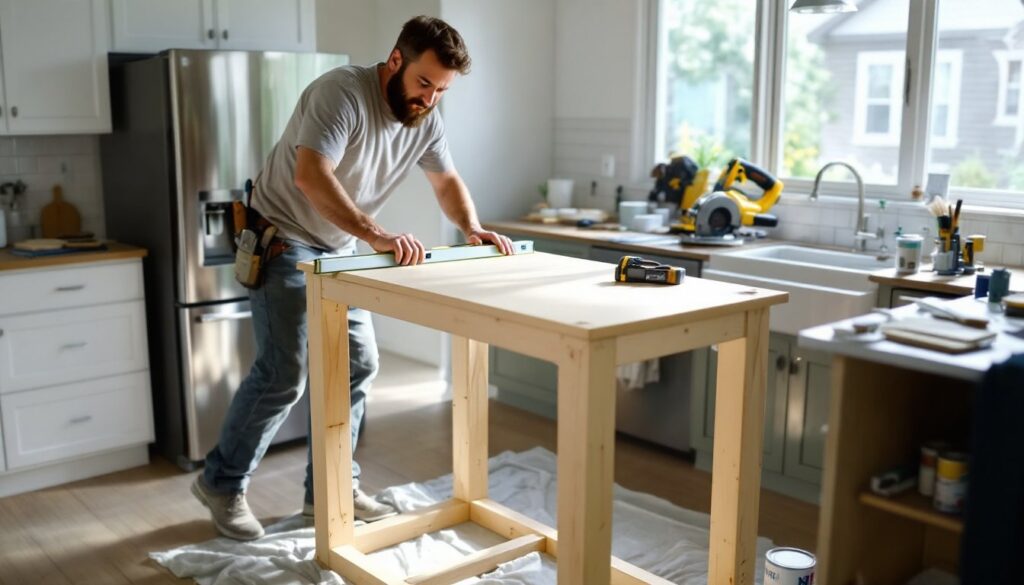
- Check level in all directions with a 2-foot level. Shim under the base until it sits flat. Uneven islands are structural headaches down the road.
- Attach plywood underlayment (3/4″ cabinet-grade) to the frame’s top using pocket holes every 8–12 inches. This creates a solid mounting surface for your countertop.
Pro tip: Assemble the island upside down on a flat work surface first, then flip it right-side up. This makes pocket-hole drilling easier and ensures flatness. Consider resources like easy kitchen island plans for detailed cut lists and joint techniques.
Installing Countertops And Finishing The Surface
Your countertop choice shapes the whole project timeline and finish. Laminate is budget-friendly ($15–$30 per linear foot) and quick to install: solid wood or butcher block costs more ($40–$80 per linear foot) and requires mineral oil or urethane sealing: concrete ($50–$100+ per linear foot) offers durability and customization but is heavy and requires pro installation in most cases.
If you’re going with laminate, measure your plywood top carefully and order from a fabricator or use pre-made edges and apply yourself. Laminate sheets are glued down with contact cement, use ventilation, follow the product’s open-time instructions, and don’t shift once you press it: it bonds instantly.
For wood counters, sand the plywood substrate to 120-grit smoothness before fastening the final wood layer or finish. Attach it with pocket holes from underneath or dowels for invisible fastening. Apply three coats of polyurethane or food-safe epoxy for durability, sanding lightly between coats.
- Mask off your island base with painter’s tape to protect the woodwork.
- Attach your countertop using mechanical fasteners or adhesive, depending on material. Lag bolts driven through the plywood into the frame add security.
- Finish edges with trim, bullnose edges, or bevels depending on your aesthetic.
- Apply finish coats (paint, stain, or sealer) to all exposed wood, including the base. Use quality primer first on all raw wood, it prevents water and stain bleed-through.
Electrical And Plumbing Considerations
Electrical work in a kitchen island often requires a dedicated circuit and outlet placement following NEC (National Electrical Code) rules. Kitchen countertops must have outlets within 6 feet of any point, and islands often need a dedicated 20-amp circuit. This is the moment to call a licensed electrician, DIY electrical work in a kitchen risks code violations, inspection failures, and future liability if something goes wrong.
Plumbing is trickier. If you want a sink in the island, you need both hot and cold supply lines and a drain line routed under the island to the main drain stack. Most homeowners hire a plumber for this: the labor runs $300–$800 depending on your layout and existing plumbing. Rough-in plumbing before the countertop is installed.
Permits: Check your local building department. Many jurisdictions require permits for islands if they include electrical, plumbing, or structural work. Pulling a permit ($50–$150) is cheaper than a failed inspection or sell-time headaches. Plan for a 1–2 week inspection wait in busy seasons.
If you’re keeping the island simple, no sink, just a prep surface and storage, you can skip plumbing entirely. Add outlets on the underside or have an electrician run them safely under-cabinet if you want them hidden. The goal is a functional, code-compliant island you can use for years.
Final Touches And Recommendations
Once the base, countertop, and surface finishes are done, step back and evaluate. Does it sit level? Are doors and drawers (if you’ve added them) opening smoothly without binding? A well-built island should feel solid when you lean on it and have no gaps at the countertop seams.
Want inspiration and detailed plans? Resources like The Handyman’s Daughter offer beginner-friendly tutorials, and Fix This Build That has comprehensive woodworking guides and tool reviews that pair well with a kitchen island project. These sites give you real examples of what finished islands look like and troubleshooting tips.
Add stools if your island height allows, and outfit the underside with open shelving or closed cabinetry for storage. The island you build today becomes the heart of your kitchen, well worth the weekend effort.
Timeline: Expect a small-to-medium island (4 feet long, simple base, laminate top) to take 2–3 weekends of solid work. Larger or more detailed builds stretch to 4–6 weekends. Factor in drying time for finishes, and plan for a week before full use if you’re using oil or polyurethane.